Story Flipbook
Story Flipbook
Topic: Storytelling
Empowerment Lesson Video: Storytelling 101
Supplies:
- Cardstock Paper, cut into 7" x 2" strips, 10-25 per student
- Pen/markers/crayons/pencils
- Binder clip, one per student
- Rubber band, one per student
Video Discussion:
Ask students to think of examples of good stories that they are familiar with.
Have students discuss at least one example story with a partner and explain why they believe it qualifies as a good story. After allowing two minutes for discussion, call on students to share their ideas.
Have students discuss at least one example story with a partner and explain why they believe it qualifies as a good story. After allowing two minutes for discussion, call on students to share their ideas.
Tell students they will be watching the video titled Storytelling 101. Explain that the video presents role models talking about storytelling and the qualities of good stories.
After viewing, use some or all of the following questions to review the video content and prepare for the activity:
- Think of your favorite story. What makes it your favorite story? Try to identify the qualities of a good story that it demonstrates.
- One role model said that good stories start with complex characters because people are naturally complex. In what ways are you complex? What does it mean to create a complex character?
- Think of a character from your favorite novel or movie. Is the character complex? What makes him/her into a complex character?
- Good stories often teach a lesson. What story have you read recently that taught you a lesson? What was the lesson? How did the story teach it?
- How could being a good storyteller help you in your future career? What storytelling qualities are also important in the work environment?
- How do you use storytelling in your life? At home? At school? With your friends?
Activity Instructions:
This activity introduces students to the basics of animation and storytelling by guiding them through the creation of a simple flipbook. By illustrating small changes in each drawing, students will see how individual images come together to create movement, just like in cartoons and animated films.
Have you ever wondered how cartoons and animated movies are made? In this activity, you’ll create a flipbook that turns still pictures into motion! By drawing small changes on each page, you’ll bring your own story to life—one flip at a time.
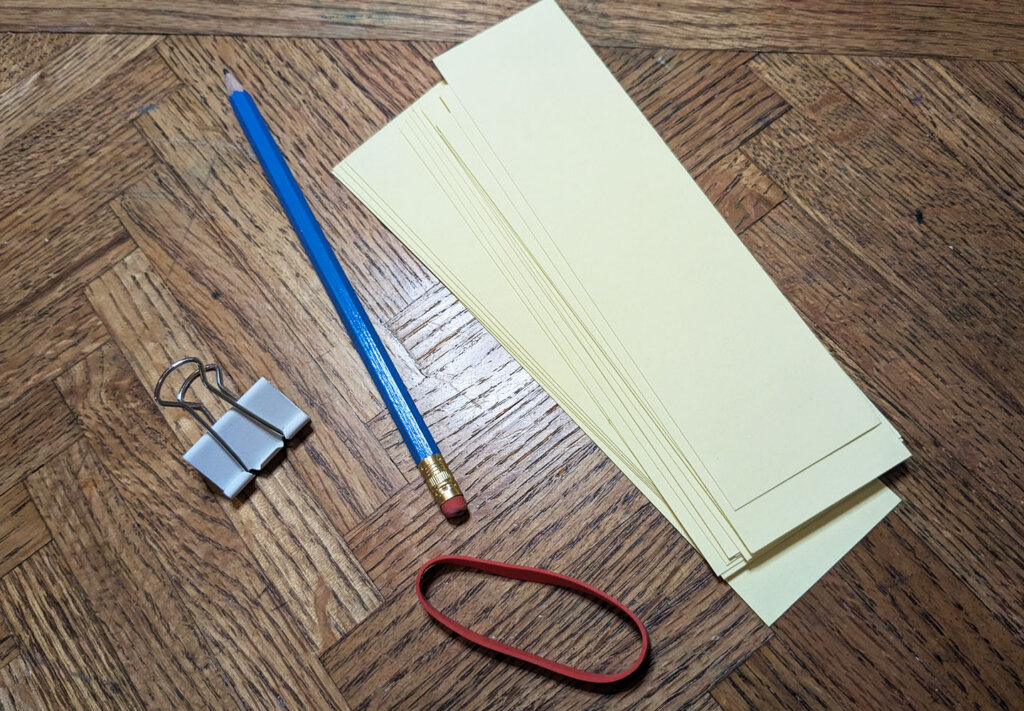
Gather the supplies you will need to make a simple flipbook including 10-25 paper strips, a rubber band, a binder clip, and a writing utensil.
- Decide on your flipbook length: 10–15 strips for a quick, focused action story, or 20–25 strips if you have more time and want to show more movement.
- Brainstorm a simple action or movement for one character in your story. For example, you might create a monkey dancing or a girl skateboarding. Animation works best when you focus on one movement rather than a full plot, since each drawing changes only slightly and it takes many drawings to tell even a small story.
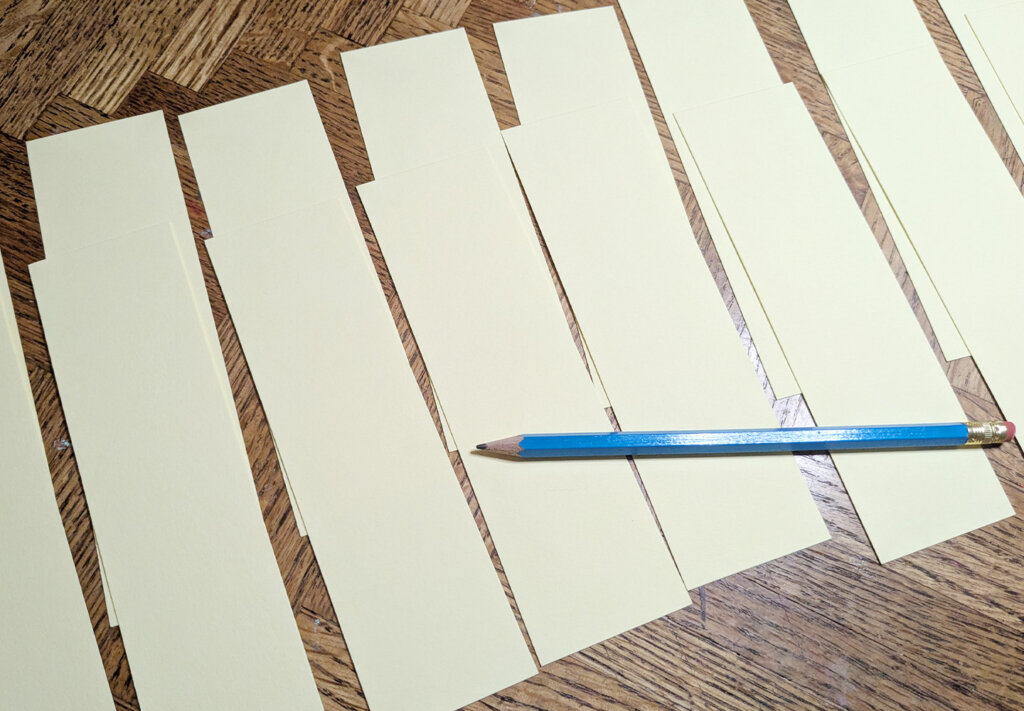
- Place your stack of paper strips in front of you with the long sides on the top and bottom, and the short sides on the right and left.
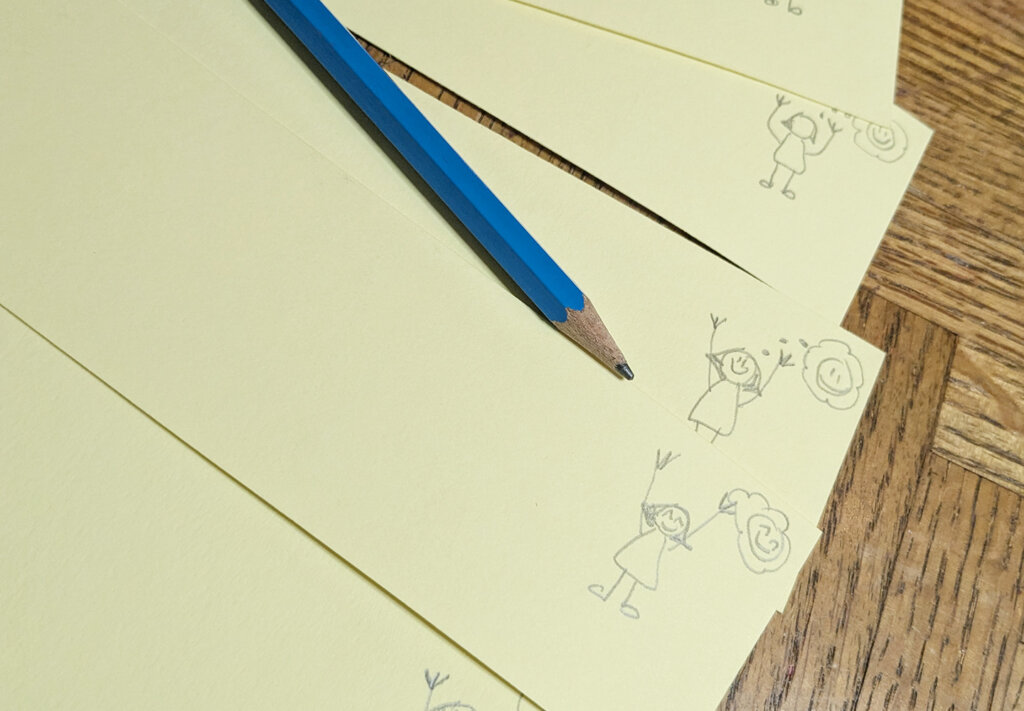
- Working one paper strip at a time, draw your character on the right side of the page. As you draw, keep your completed strips stacked in order so you can see or flip back to exactly where your character is positioned and how much to move them on the next strip.
- On each strip, move or change your character's position only slightly. Each consecutive drawing continues that small change until your action is complete.
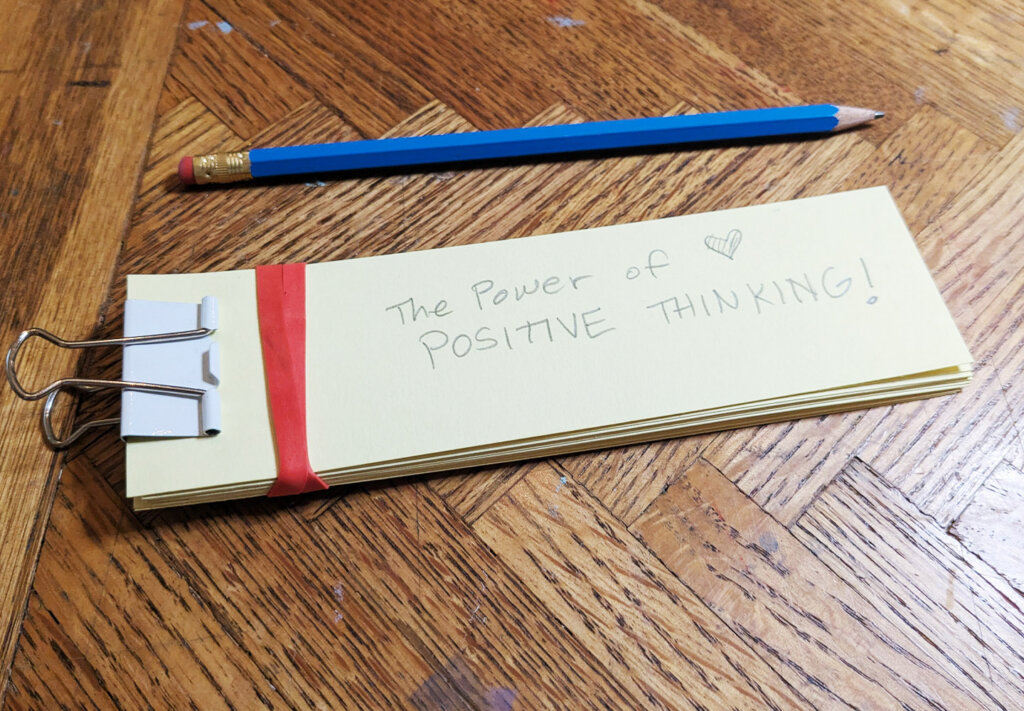
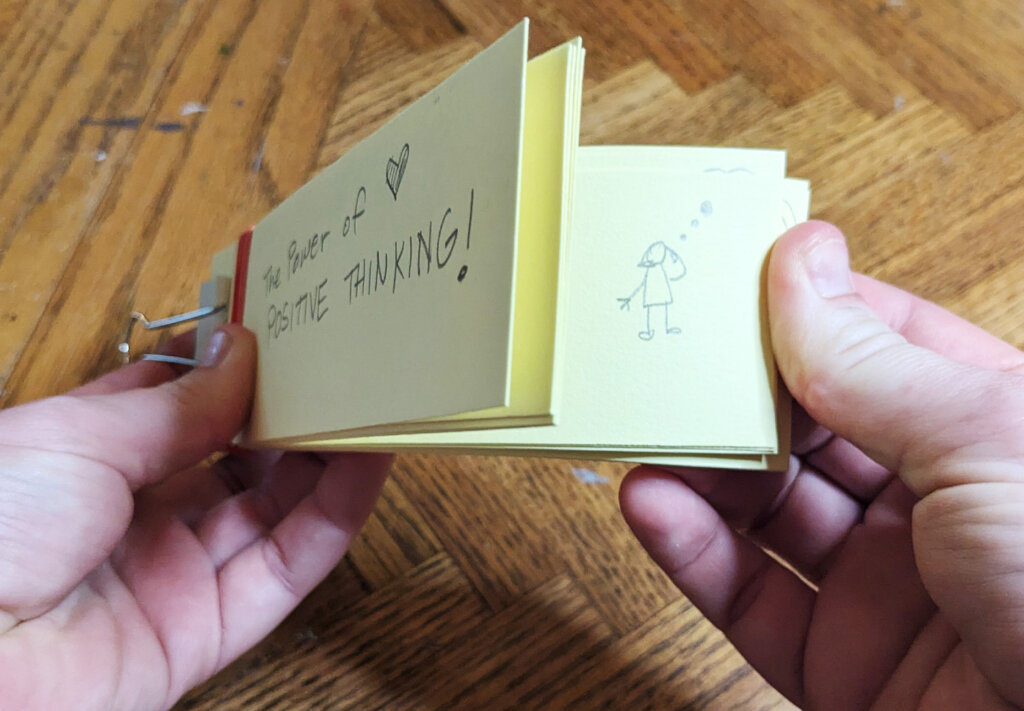
- Take your completed story and bind the papers by placing a rubber band around the left side. Then place the binder clip over the rubber band for extra support.
- Flip through your book one page at a time and watch your drawings come to life with move
- Share your flipbook with a partner.
- Discuss the flipbook creation process with your partner:
• What was challenging about creating movement in your drawings?
• What was the hardest part of making your flipbook? How did you overcome it?
• If you could add more pages to your flipbook, how would you expand your story?