Friendship Bracelet #2
Friendship Bracelet #2
Topic: Choosing Friends
Empowerment Lesson Video: Choosing Friends
Supplies:
- Cardboard
- Can, glass, or another small circular item
- Scissors
- Pencil or marker
- Ruler
- Yarn in various colors, seven strands per student
Video Discussion:
Introduce the topic of choosing friends.
Engage students in thinking about friendship by asking, “What characteristics make a good friend?”
Direct students to turn and talk to a partner. Then bring the class together to share students’ ideas.
Tell students they will be watching the video Choosing Friends. Explain that the video features role models talking about things they think about when choosing friends.
Activity Instructions:
Students will explore the importance of friendship by creating friendship bracelets. They will reflect on what makes a good friend and how they can be a good friend to others. This activity encourages students to think about the qualities they value in friendships while expressing their creativity.
Today, you’ll make your own friendship bracelet! You’ll choose different colored yarn to create a unique design. As you create your bracelet, think about what friendship means to you and how you can build strong, positive relationships.
- Gather your supplies including a piece of cardboard, writing utensil, scissors, circular item, and string.
- Use the circular item to trace a circle on your cardboard.
- Cut out your circle.
- Draw four lines across your cardboard circle to create eight equal segments.
- Poke a hole in the center of the circle using the scissors.
- Cut a small slit of approximately one-half inch in each line, starting on the outside and cutting towards the center.
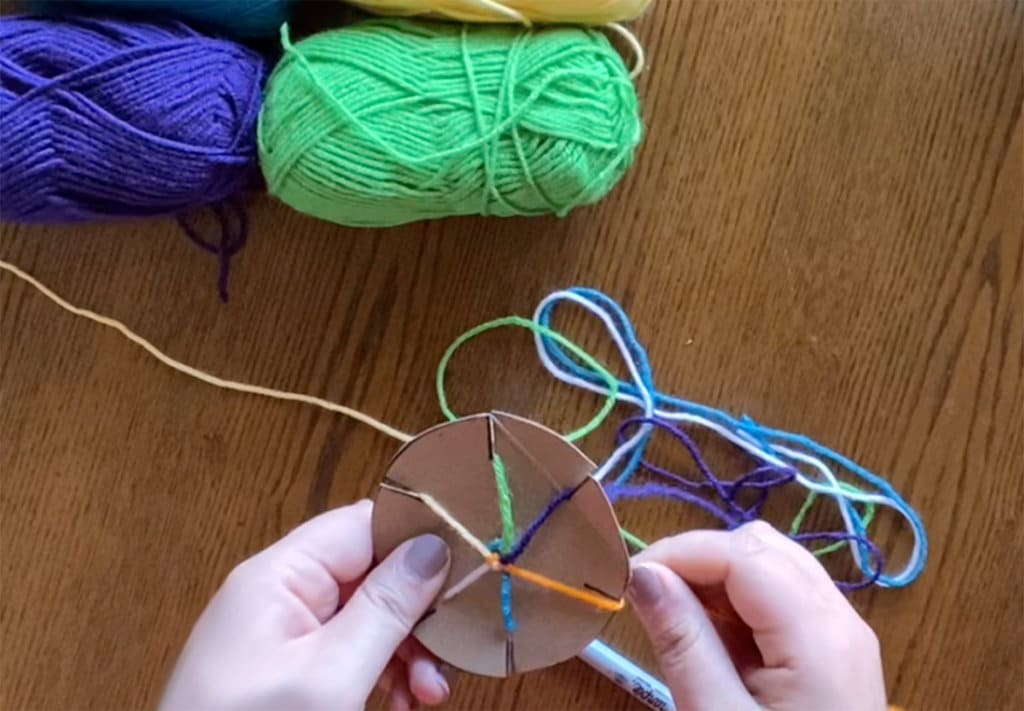
- Gather your seven pieces of yarn into a single pile. Tie them together with a knot at one end.
- Take the un-knotted end of the yarn pieces and push them through the cardboard’s center hole. You can use your scissors to help! Pull the yarn all the way through until the knotted end touches the cardboard on the other side.
- Pull one piece of yarn through each of the cut-out slits. There will be one slit without a piece of yarn.
- Position the cardboard circle so the empty slit faces you. Count the third yarn to the left, pull it out of its slit, and tuck it through the empty slit.
- Reposition the cardboard circle so the new empty slit faces you. Then, count the third yarn to the left, pull it out of its slit, and tuck it through the empty slit.
- As you are braiding your bracelet, consider the following questions and be prepared to share your answers with the group:
- What are the qualities of a good friend? Which of these qualities are you already really good at?
- Think of one of your good friends. How do you know they are a good friend? What do they say or do?
- Do you have any friendships with people that you may not have thought at first glance would be a good friend? When did you know they were a good friend?
- Repeat steps 10 and 11 until your bracelet is the right length.
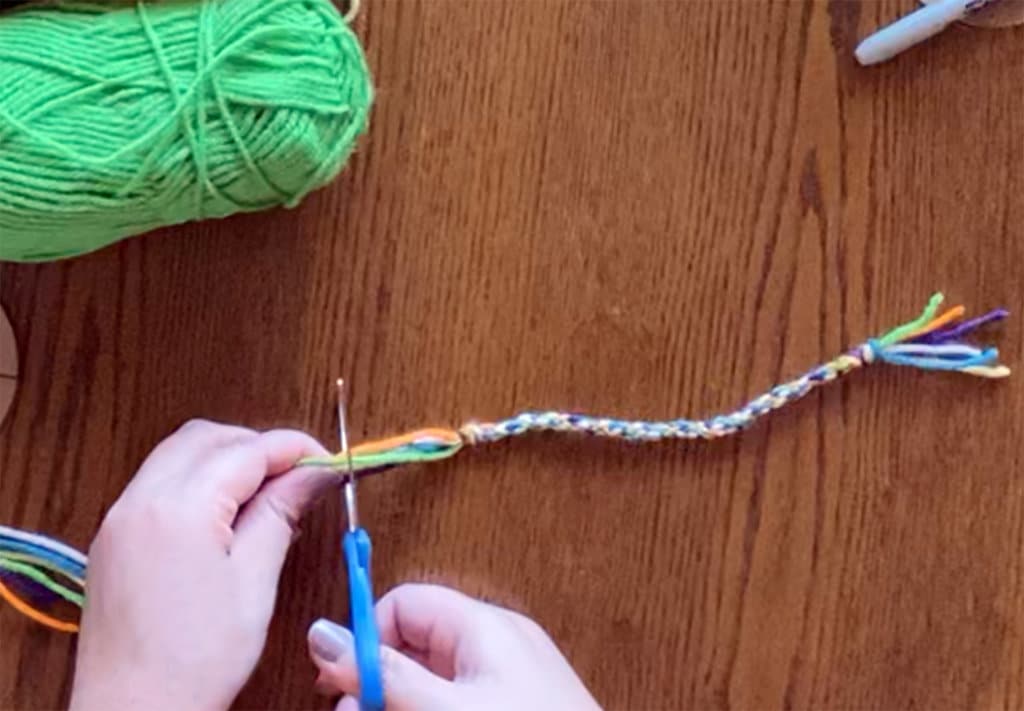
- Remove the yarn from the cardboard by pulling each string out of its slit. Tie a knot in the loose end. Then, pull your bracelet through the cardboard’s center hole.
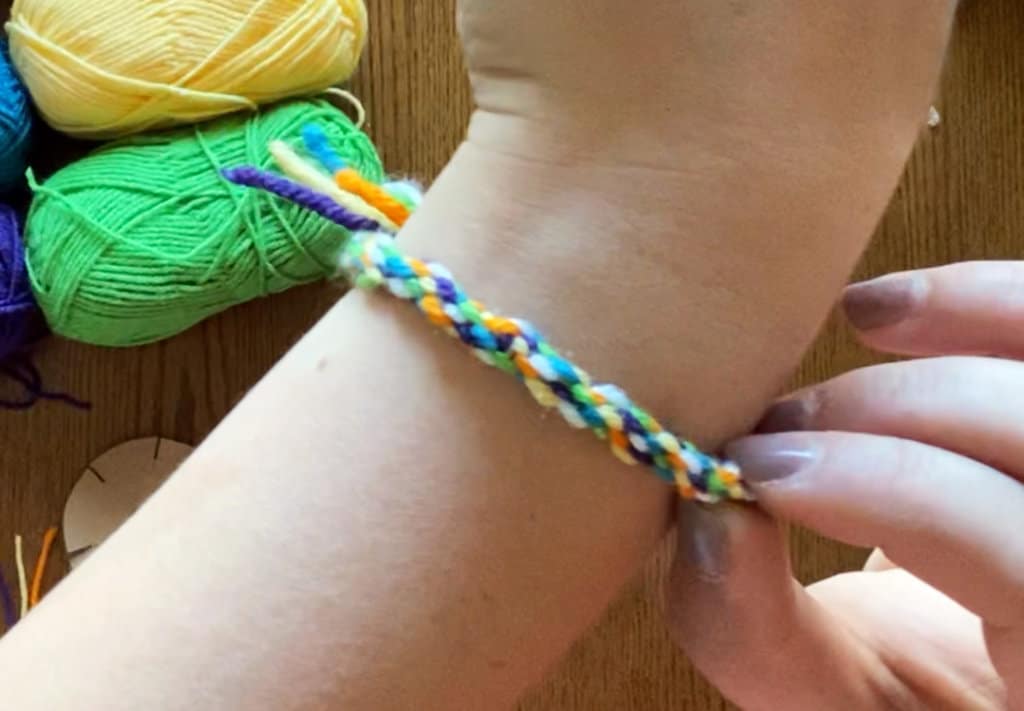
- Wrap your new bracelet around your wrist and ask a friend to tie the ends together. Trim off any excess yarn.
- Take turns sharing your answers to the questions in Step 12 and listening to others’ responses.