Authenticity Quilt
Authenticity Quilt
Topic: What Makes Me, Me!
Empowerment Video: Authenticity
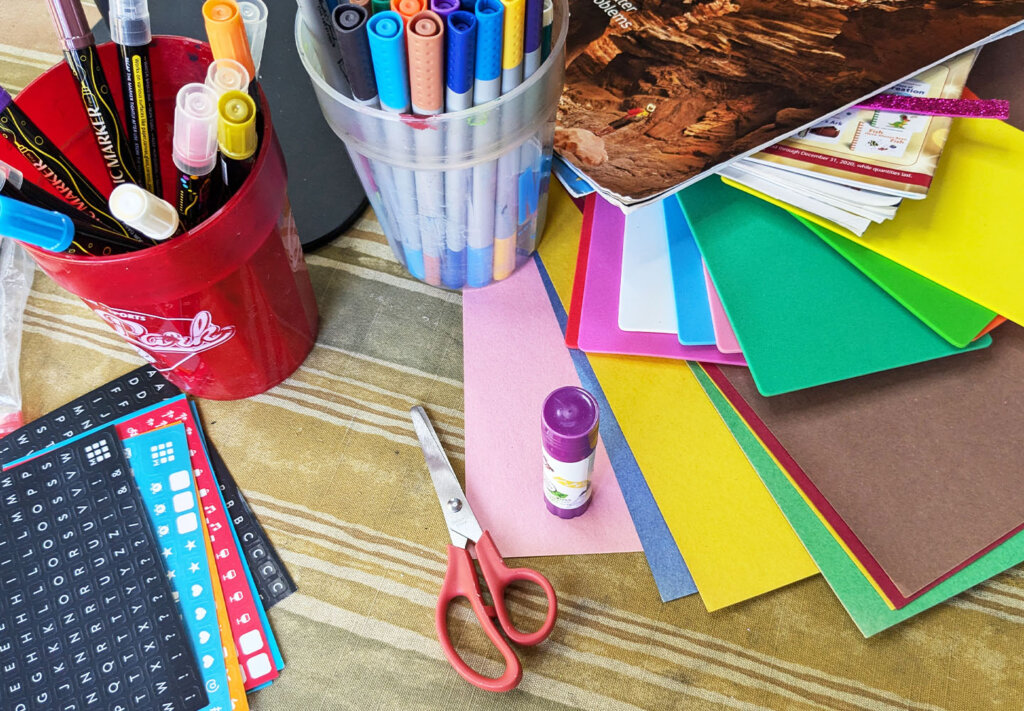
Basic Supplies:
- Fabric squares, or large paper squares if sewing isn’t an option
- Fabric markers, fabric paint (if using paper, crayons or markers are fine!)
- Sewing supplies (thread, needles) if using fabric, staples or glue if using paper
- A large backing fabric to assemble the quilt such as a pre-squared foam board, or a bulletin board if using paper
Video Discussion:
Ask, “What does the word ‘authenticity’ mean?”
Direct students to turn and talk to a partner. After a minute of discussion, bring the class back together and ask students to share their ideas.
Work together to come to a class definition of the term authenticity (e.g., “The quality of being real or true.”)
After watching the video Authenticity, ask students to work together to summarize the 2-3 main pieces of advice from the video.
Use some or all of the following questions to discuss the video content:
- What makes your “heart sing”? How do you know?
- What does it mean to be “true to yourself”? What might cause someone to be inauthentic or not true to themselves?
- Why is it important to stand up for yourself or what you believe in? How do you feel when you do?
- How can we help our friends feel comfortable being themselves around us? What can you say or do to show support?
Activity Instructions:
Every person has a different set of passions, skills, and talents. This makes each person unique and one-of-a-kind. A great step towards being your authentic self is recognizing and celebrating all of the things that make you different and special.
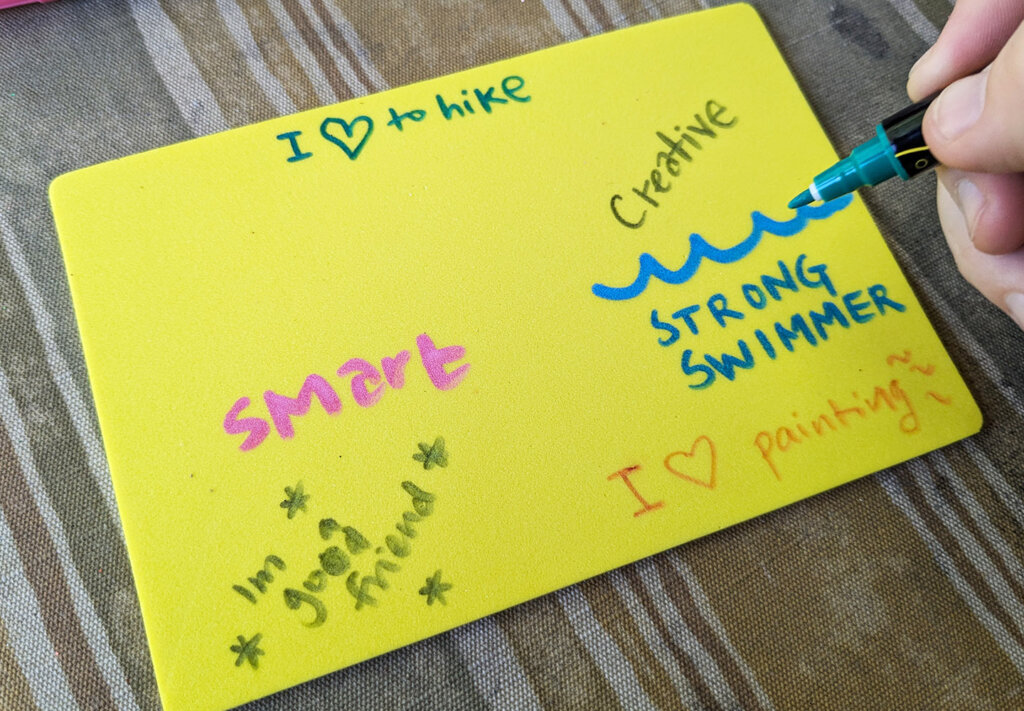
- Get a square of fabric or paper and the paints or markers you will need to decorate your quilt piece.
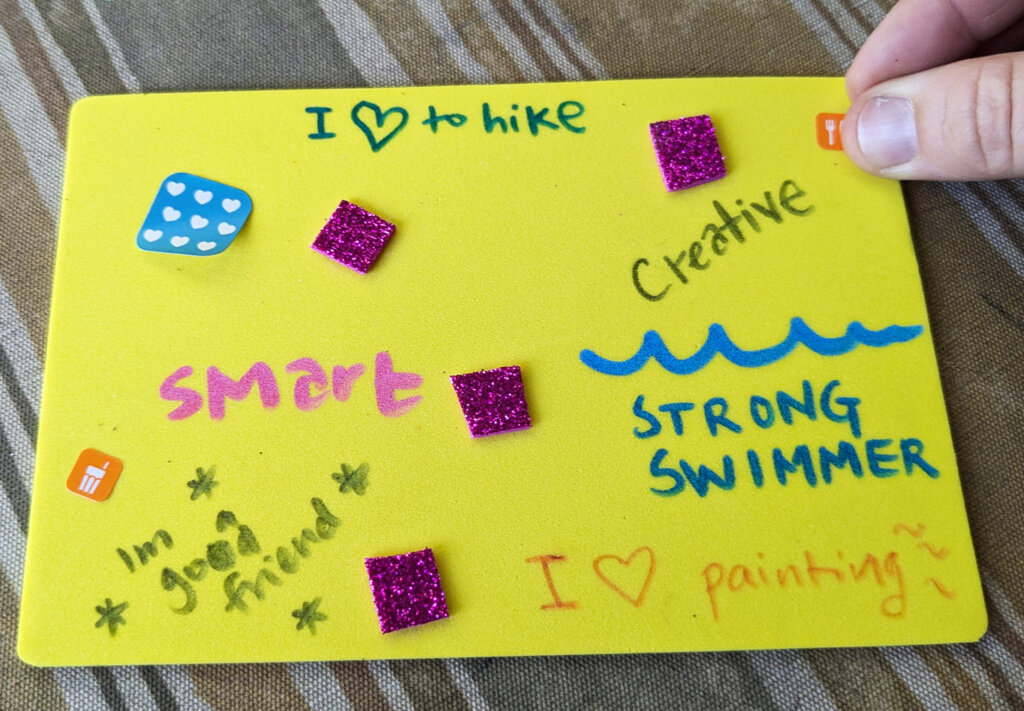
- Think about all of the skills, interests, and talents that make you unique. Select something that represents your authentic self—this could be a favorite hobby, a dream for the future, or a personal value.
- Use pictures and/or words to represent this part of your authentic self on your quilt square. Be prepared to share your quilt square with the class.
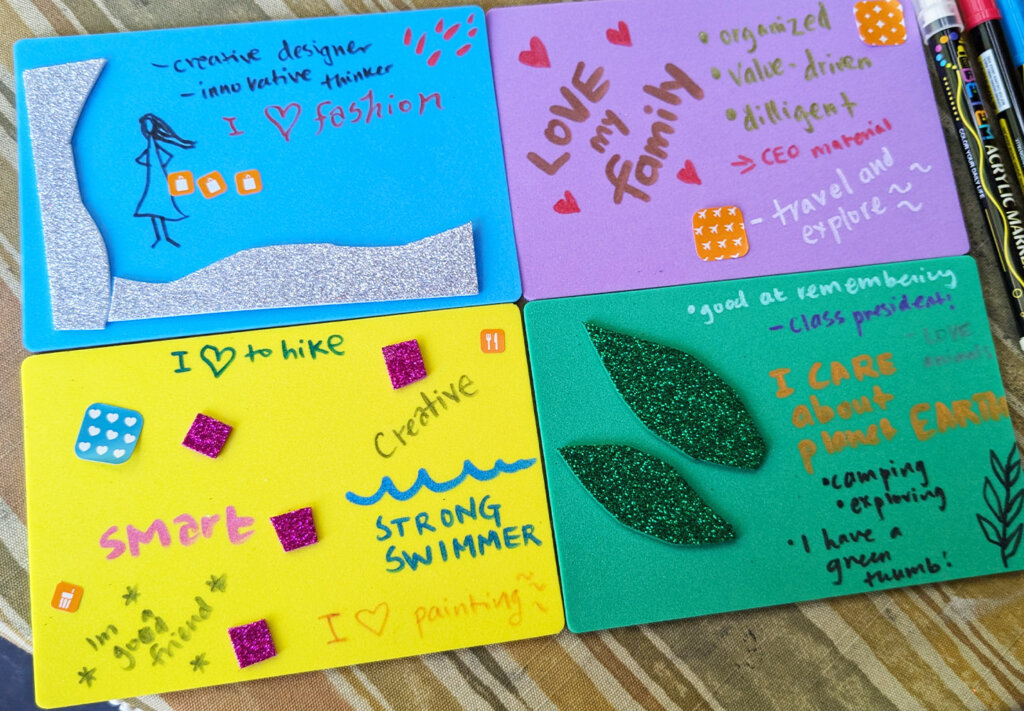
- When everyone has completed their quilt square, take your turn to show your work and share the story behind your design.
- Working as a class, arrange the quilt squares in a pleasing pattern on the floor. Then, if using fabric, sew the squares together using sewing supplies. If using paper, use staples/glue to secure the quilt pieces to a bulletin board.
- The finished quilt should serve as a reminder of your authentic self and the diversity present in our classroom.